Warning: This article contains lots of images! Click on the images to view the field in it's full glory.
This week marks the 150th anniversary of the first large battle of the American civil war, the battle of Bull Run. On the area surrounding Bull Run and Henry House Hill, two inexperienced armies fought a battle, both believing that the war would be fast won. They were wrong.
To mark the anniversary, I decided to play out the battle in 6mm miniature with the popular ACW ruleset, Fire & Fury. This was the first large scale historical battle I've made, and I chose Bull Run as I could make the entire OOB's for the battle instead of doing a small portion of the battle on as big a table as I could make. It took me months of designing, modelling and painting but I made it. The scenario itself is based on the "official" Bull Run scenario from the Fire & Fury eastern battles scenario book, but I've increased the size of the map and changed the scenario from 1 stand equals 150 men / 1"=45 yards to 1 stand equals 200 men / 1" = 60 yards.

The battle was fought on a 160 cm * 240 cm table, for which the map is shown above. The main objective of the scenario is Henry House Hill in the center, which the confederates hold at the start of the game. Conferedates have deployed on the small hill overlooking the stone house between Henry House Hill and Mathews Hill to the upper left on the map. The Union forces have a whole division against the three brigades of the confederates to start with, deployed in the treeline behind Mathews Hill. Union reinforcements start coming in via the roads on the top left and right corners of the map. The Confederates get their reinforcements by the roads on the bottom of the map. The game starts at 10:00 in the morning and advances in half-hour turns until 17:00 when the forces start checking for victory.
We had five players for the most of the game, one commanding each union division and confederate corps. Janne controlled the overall union commander McDowell and Tyler's division, which mostly came through the top right road on the other side of Bull Run. Arto controlled Hunter's division, which was the first deployed against the confederates and Simo controlled Heinzelman's division, which came to support Hunter through the top left road. On the confederate side, Mikke controlled Joseph Johnston, the overall commander and a large division worth of units from the army of the Shenandoah. Mikke's troops were mostly responsible for the first line of defence against the union. The army of the Potomac units under Beauregard were controlled by yours truly, and they arrived on the scene mostly after Johnston's units.
 |
| Here you can see the battlefield from the bottom left corner of the map. The red Stone House makes a good reference point throughout the scenario. |
 |
| A view from the top edge. Mathews Hill on the foreground. Units have not yet been placed. |
 |
| The Stone Bridge is one of three possible crossing points on Bull Run. There is a ford north of here that most of Tyler's division will use. |
We started the scenario from the opening guns of the battle. Hunter's division was met by a volley of rebel musketry across Mathews Hill. The exchange left the union forces disordered, and oddly enough, low on ammunition, much to the delight of the confederates. The union line had to retreat back to the treeline to replenish ammunition and wait for reinforcements.
As the union reinforcements marched along the road to join the fight, the confederate Louisiana Tigers extended the confederate left flank to protect the forces near Stone House from being flanked. The hardy dockworkers of New Orleans gravely underestimated their opponent though, and the union attack decimated them utterly.
The confederate troops at stone house were now facing vastly superior forces with just two brigades. They were getting flanked and to make things worse, Union artillery had deployed and now added to the amount of fire the rebels had to bear. The confederates had to pull back, but as the position was flanked, what was supposed to be an orderly retreat turned to a full rout. Scores of confederates were shot down by the jubilant union soldiers getting their first taste of battle.
 |
| Meanwhile, Sherman's brigade of Tyler's division marches cautiously towards the ford north of stone bridge. McDowell looks on contentedly. |
 |
| The victorious Hunter moves his forces to occupy the Stone House area. |
The Stone House was now in Union hands and Union batteries were being deployed on the small hill between Mathews hill and Henry House Hill. From here they had a clear line of sight for the whole area. Meanwhile, Thomas Jackson's brigade, having first marched towards stone bridge, reversed course and went to Henry House, as it was in imminent danger of being overrun.
With Stuart's cavalry and a battery of guns, Jackson reinforced the hill. They were however, outnumbered as the confederate forces routing from Stone House couldn't be of help in stopping the Union. Meanwhile, elements of Tyler's division started pouring over the river ford, joining the forces of Heinzelman, who had marched in the same direction instead of reinforcing the Stone House area.
 |
| The union troops were busy pushing aside the remnants of Johnston's troops. | |
Together, Tyler, Heinzelman and Hunter could exploit their early success by starting to encircle the forces on Henry Hill. Their superiority in numbers meant they could attack the hill from three directions. Beauregard and Johnston were in big trouble.
 |
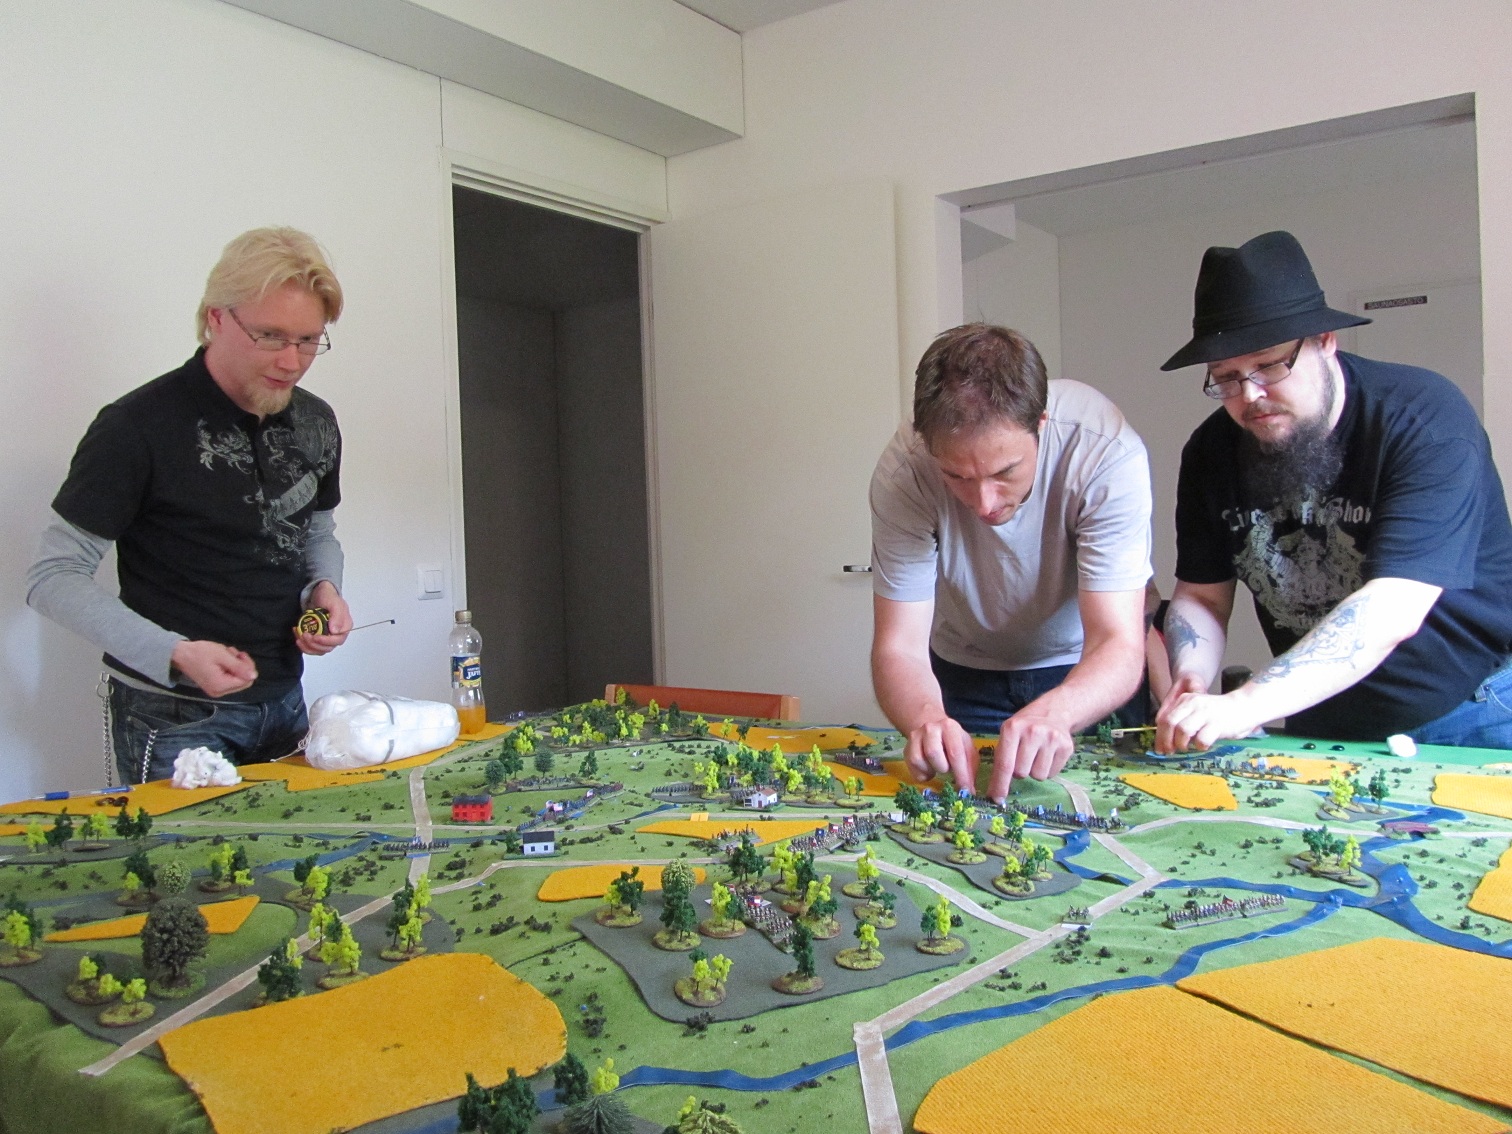
| The union team plots their movements. |
A union cavalry force slammed into the left flank of the last of the original confederate forces, sending them running. In their impetus, they pursued the fleeing troops too far and ended up behind Jackson's brigade. Right in front of a confederate artillery battery and a brigade of troops. The results were bloody.
 |
| The union cavalry strays into the canister range of a confederate battery with deadly results. |
Union forces under Heizelman attempted to further the envelopment of confederate forces by making a quick march along the road to the confederate left. The confederates quickly countered by moving onto the exposed Union column and unleashing a devastating volley on the vulnerable soldiers. The Union column sprang to the safety of the nearby woods to get out of the fire, only to encounter a confederate reinforcement brigade marcing to the field. The union brigade routed in defeat.
The confederate reinforcements started to arrive to the left, but too late. Jackson's brigade was falling back under repeated volleys and charges from two directions. A hastily assembled line was formed along the road south of Henry House for a last stand.
On the right, the superior Union artillery destoyed a confederate battery in front of the 69th new york. The irish had to contend with more confederate reinforcements coming to the right however.
Meanwhile, an infantry column led by Tyler himself was marching quickly across the stone bridge. It was unlikely they were going to be needed.
 |
| The weary Beauregard watches in despair as the confederate troops put on an effective but ultimately futile defence. |
On the confederate right, the Union forces meet with a charge by two confederate brigades. Their charge is successful, but on the same time, the forces on Henry Hill are battered by superior forces and are falling back. This ends the scenario to the favor of the Union.
 |
| Jackson's brigade becomes spent as the last confederate brigade on Henry House Hill, ending the game in favor of the Union at 17:30. |
A major victory for the Union! The early success of the union troops fed itself and even though the confederate side upped their game from midgame onwards, the damage was largely done. The rebels put up a surprisingly stiff resistance though, and at one point, it looked like the game could still tilt towards a confederate victory. The union musketry saved the day in the end, and sent the rebels running for Richmond! As a tabletop game, it was very entertaining and an even challenge for both sides. The confederates should have started their retreat a bit earlier from Stone House, but the defeat of the Louisiana Tigers suprised both rebel commanders. A lot of troops were lost unnecessarily, but it went in a quite realistic fashion, although the end result was far from historical. That's part of the appeal of a historical scenario after all, to see if the players' decisions can change the historical outcome. Good fun was had by all and we even got some non-wargamer spectators who seemed to be glued to the side of the table for hours even though the weather was nice outside.
Now, the cautious McClellan gives me a good, long rest until I'll start working on the next larger scenario. Will it be Shiloh? I don't know yet. I know I will be doing a small battle like Port Republic for a wargames convention this autumn, so I do have something on my hands.


No comments:
Post a Comment